
How to Configure HTTPS for your Angular Project
Problem Statement
How do I build Angular applications using the CLI that require SSL for local development?
Anytime engineers are working on Angular CLI based applications that require authentication, inevitably they will end up needing to run code locally using https. From Angular version 1 to 5, running localhost with SSL could be particularly difficult to setup but since Angular 6 and onward, it has become much more approachable.
Before going forward, I want to make sure to give credit to Ruben Vermeulen for his post on Medium and his generate trusted ssl certificate repo on GitHub. I’ll build off a lot of his work in an effort to streamline the configuration on a Windows machine utilizing Chocolatey to install OpenSSL and running a powershell command within an Angular CLI project to generate the ssl cert.
In order to run Angular 19 under SSL we will need to A) Configure and generate an SSL certificate, B) Install the certificate to a local Certificate Authority (CA), and C) Configure the Angular CLI to use our use our generated certificate. Taken from the perspective of the Angular CLI, we will tell the CLI to use a specific cert that we generated locally, and that cert will tell the browser to look to the local machine as the Certificate Authority for cert verification.
You can find all of the code for this project on my GitHub at https://github.com/BrianMikinski/ngssl
Plan of Action
- Clone ngssl Starter Project from GitHub
- Install Chocolatey
- Install OpenSSL
- OpenSSL Certificate Creation
- Certificate Installation
- Update npm run-script
Clone ngssl Starter Project from GitHub
Rather than start from scratch, I already have an Angular project configured to fast track building your local https cert and configure npm to start the Angular CLI in ssl mode. Clone this project from GitHub using
1
git clone https://github.com/BrianMikinski/ngssl.git
Now, let’s get started building our cert and configuring the Angular CLI!
Install Chocolatey
Prior to creating an SSL cert to be installed in your local Certificate Authority, we need to first install OpenSSL.
Running on Windows, you can install OpenSSL using a fantastic package manager for Windows called Chocolatey. Go and grab the following PowerShell script that can be found at Installing Chocolatey and run them under an admin PowerShell window. After installing Chocolatey as a package manager, we’re now ready to install OpenSSL (Note: you may need to restart your computer after installing Chocolatey to get the $PATH environment variable to properly pick up)
1
Set-ExecutionPolicy Bypass -Scope Process -Force; [System.Net.ServicePointManager]::SecurityProtocol = [System.Net.ServicePointManager]::SecurityProtocol -bor 3072; iex ((New-Object System.Net.WebClient).DownloadString('https://community.chocolatey.org/install.ps1'))
Install OpenSSL
With Chocolatey installed, we’re ready to install OpenSSL (using Chocolatey) which will allow us to generate certificates and keys for the Angular CLI to us.
1
choco install openssl
To test that open ssl was properly installed, run the following command
1
openssl version
If you recieved output stating the version of OpenSSL that you are running, you should be good to go.
OpenSSL Certificate Creation
With OpenSSL installed the next step is to build a certificate for local installation to the correct certificate authority. To generate the local cert, navigate to the ngssl folder and run the generateSslCert.ps1 PowerShell script. This script will call OpenSSL passing in cert definition defined in ./ssl/certdef.cnf and place the certificate along with a key in the ./ssl folder of the ngssl starter project.
certdef.cnf
1
2
3
4
5
6
7
8
9
10
11
12
13
14
15
16
17
18
19
20
21
22
[req]
default_bits = 2048
prompt = no
default_md = sha256
x509_extensions = v3_req
distinguished_name = dn

[dn]
C = US
ST = TX
L = HTX
O = IT
OU = IT Department
emailAddress = webmaster@ustxhtx.com
CN = localhost

[v3_req]
subjectAltName = @alt_names

[alt_names]
DNS.1 = *.localhost
DNS.2 = localhost
Generate SSL Cert PowerShell Script
1
./generateSslCert.ps1
With the certificate and key created, we can now move on to installing the cert and updating our packages.json script
Certificate Installation
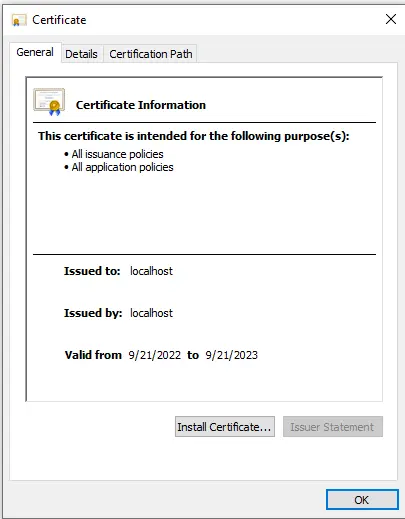
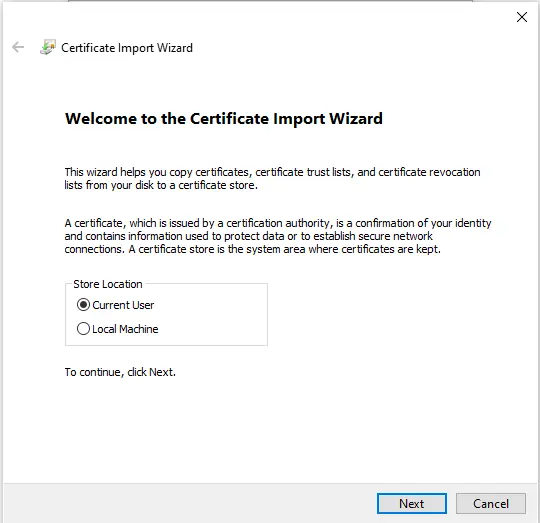
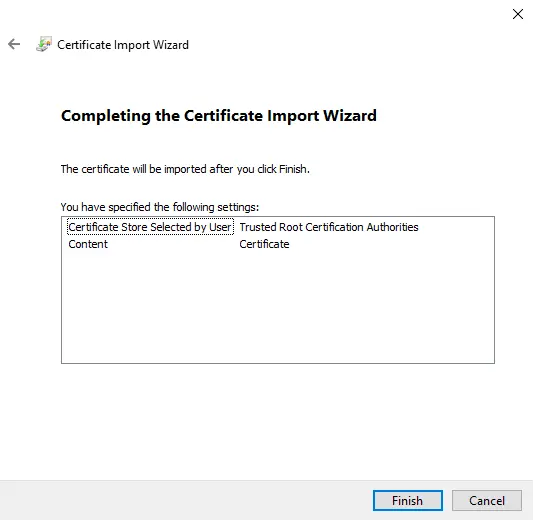
To install the certificate on Windows, navigate to the ngssl/ssl/ folder and double click on the certificate. This will open up the Certificate import Wizard. On the certificate import wizard, click through the wizard to place the certificate in the following location
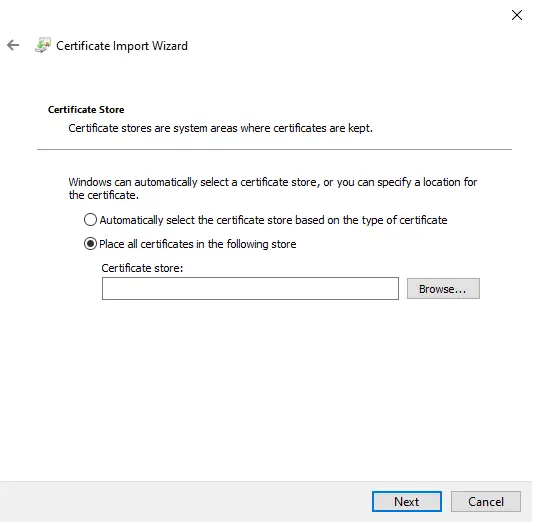
Install Certificate > Current User > Place all Certificates in the following store > Browse > Trusted Root Certification Authorities > Ok
1. Click Install Certificate
2. Select Current User
3. Select Place all Certificates in the following store, Browse
4. Select Trusted Root Certification Authorities
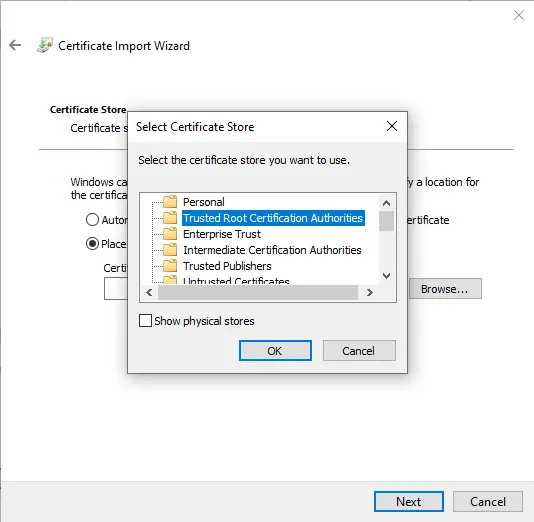
5. Select Finish
After installing the certificate in the proper store, it’s time to move onto updating our npm run scripts.
Update npm Run Script
Everything is now in place to start running the Angular CLI with SSL enabled. To bring ssl to completion, the first step will be to update the packages.json start script to start the CLI in ssl mode and point the the CLI to the generated certificate and certificate key within the ./ssl folder. Here is what the npm start scripts will need to look like
Updated npm start script
1
    "start": "ng serve --ssl true --ssl-key ./ssl/server.key  --ssl-cert ./ssl/server.crt",
packages.json scripts
1
2
3
4
5
6
7
8
9
10
11
12
{
    "name": "ngssl",
    "version": "0.0.0",
    "scripts": {
        "ng": "ng",
        "start": "ng serve --ssl true --ssl-key ./ssl/server.key  --ssl-cert ./ssl/server.crt",
        "build": "ng build",
        "watch": "ng build --watch --configuration development",
        "test": "ng test"
        },
}
...
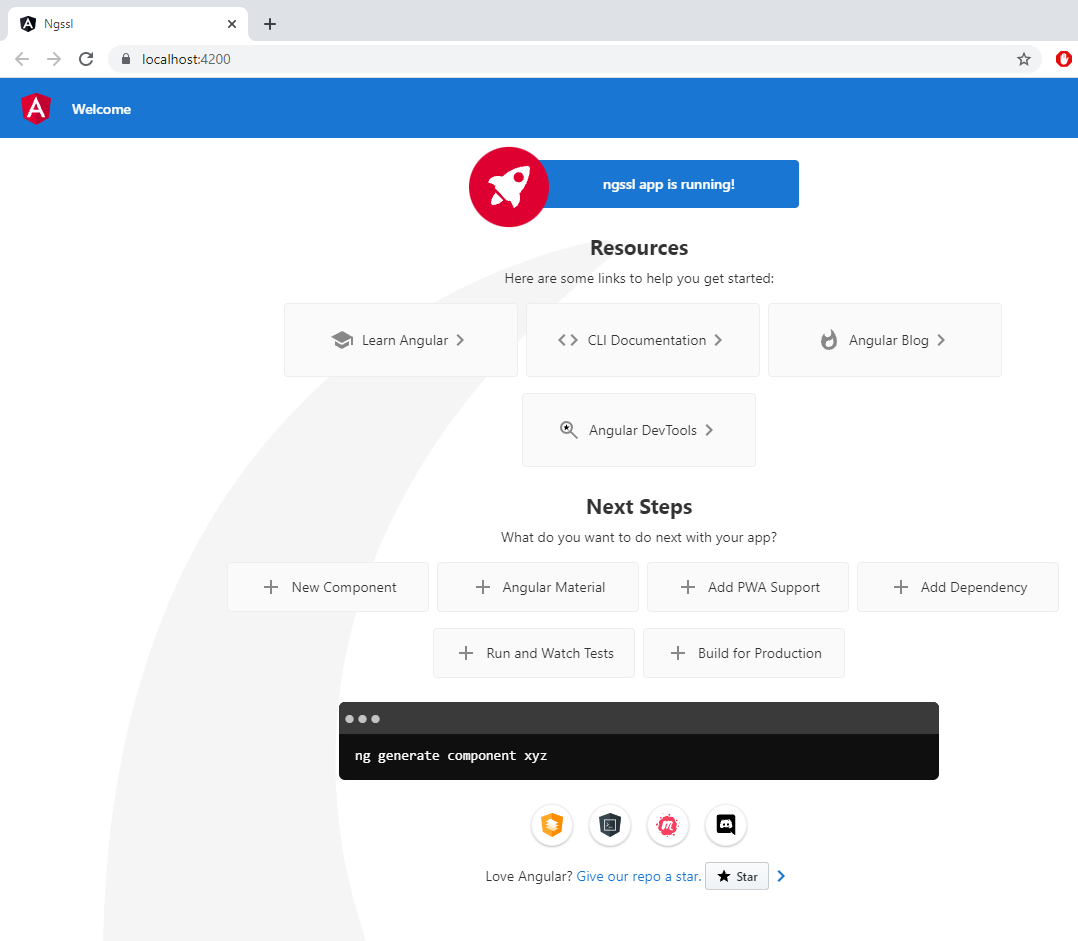
Finally, with these updates we’re ready to run the app. Start up the app running
1
npm run start
If all goes well you should see the CLI compile your app, start the dev server and serve your Angular 19 website flawlessly using https!
Feel free to leave a comment below, thanks for learning along with me and happy coding!
Resources
Reuben Vermeulen
